In this article, we're going to look at a few aspects of editing your digital menu.
You can also watch our Digital Menus training video HERE.
To access your menus, click on "Settings" on the left tab on your account, followed by Menu on the right hand side sub menu. A list of your menus will be displayed. Choose the orange cog on the right hand side which says "Setup Menu" if you hover over it. This will display a list of your categories (menu sections) and menu items.
Adding/Editing Categories
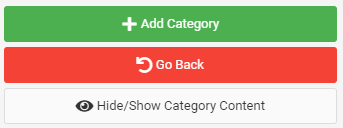
You can add a new category (section) by clicking on the "green Add Category" button to the right of your menu items.
Enter a Category name and optional description. Once you save it, it will be added to the bottom of your existing Categories. You can edit it at any time by selecting Edit from the Options dropdown on the Category.
You can reorder Categories by dragging the them with the handle (double headed vertical arrow) on the right hand side of the Category itself.
Adding/Editing Menu Items
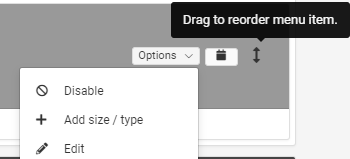
Within a Category, you can add a new menu item by selecting Add Item from the Options dropdown on the Category.
You will be able to add a Menu Item, Menu Description, dietary requirements and price. Only the Menu Item and Price are essential. Once you save the Menu Item, it will be added to the bottom of your existing items, within that Category.
You can edit it at any time by selecting Edit from the Options dropdown on the Menu Item itself within the menu listing.
You can reorder Menu Items by dragging the them with the handle (double headed vertical arrow) on the right hand side of the Menu Items itself.
Adding a Size/Type
For each Menu Item, you are also able to add a Size/Type. You might use this to offer guests a half portion/full portion or a choice of chicken/beef burger or a selection of teas.
If you are adding a Size/Type, you will add the pricing to each option, rather than to the Menu Item. To add, select Add Size/Type from the Options dropdown on the Menu Item itself within the menu listing. Add each one and its price and they will appear below the Menu Item.
When guests select that Menu Item, they will have to choose one of the Size/Types you have created for that item.
Creating and Using Menu Addons
Addons are added to Menu Items to allow guests to decide on extra options for a particular item. For example, adding sides or sauces or how their steak should be done. In the case of a steak temperature, you can leave the price at zero, but perhaps for sauce, you would like to add an additional charge.
Click on Settings on the left tab on your account, followed by Menu Addons in the right hand side sub menu. Then click on" Add Addon.
Think of an Addon as a question you want to ask the guest. For each Addon, you can specify whether it is required (compulsory) or not. And you can decide whether guests will have only one option.
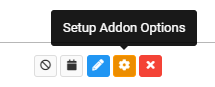
Once you have created an Addon, you will create Options for that Addon - you can think of these as answers to the question you've asked. To add options, click on the orange cog button.
Name each option and add a price if applicable. You can choose one option to be selected by default if you want to.
Adding Addons to a Menu Item
To the right of your items in your menu, a list of your Addons will be displayed.

In order to add an Addon to a Menu Item, drag the Addon across to the Menu Item and drop into the dotted placeholder next to the item name.
